Audio Damage NRST Powerup Fix Board
Fixes power-up issues on Audio Damage modules including ADAB03 backpack modules and EOS. Solves the common MCU boot failure problem caused by STM32 chipset bugs that prevent proper startup when power rails aren't perfectly synchronized. Simple installation via programming header soldering eliminates frustrating power cycling and module re-plugging. Essential fix for ADM17 Proton and other affected modules that fail to power on reliably. Includes detailed installation guide for permanent solution.
Pairs well with
Audio Damage NRST Powerup Fix Board
Product Details
For all Audio Damage modules that suffer from not powering on properly, this little board will fix the issue. Works with all ADAB03 backpack modules and EOS.
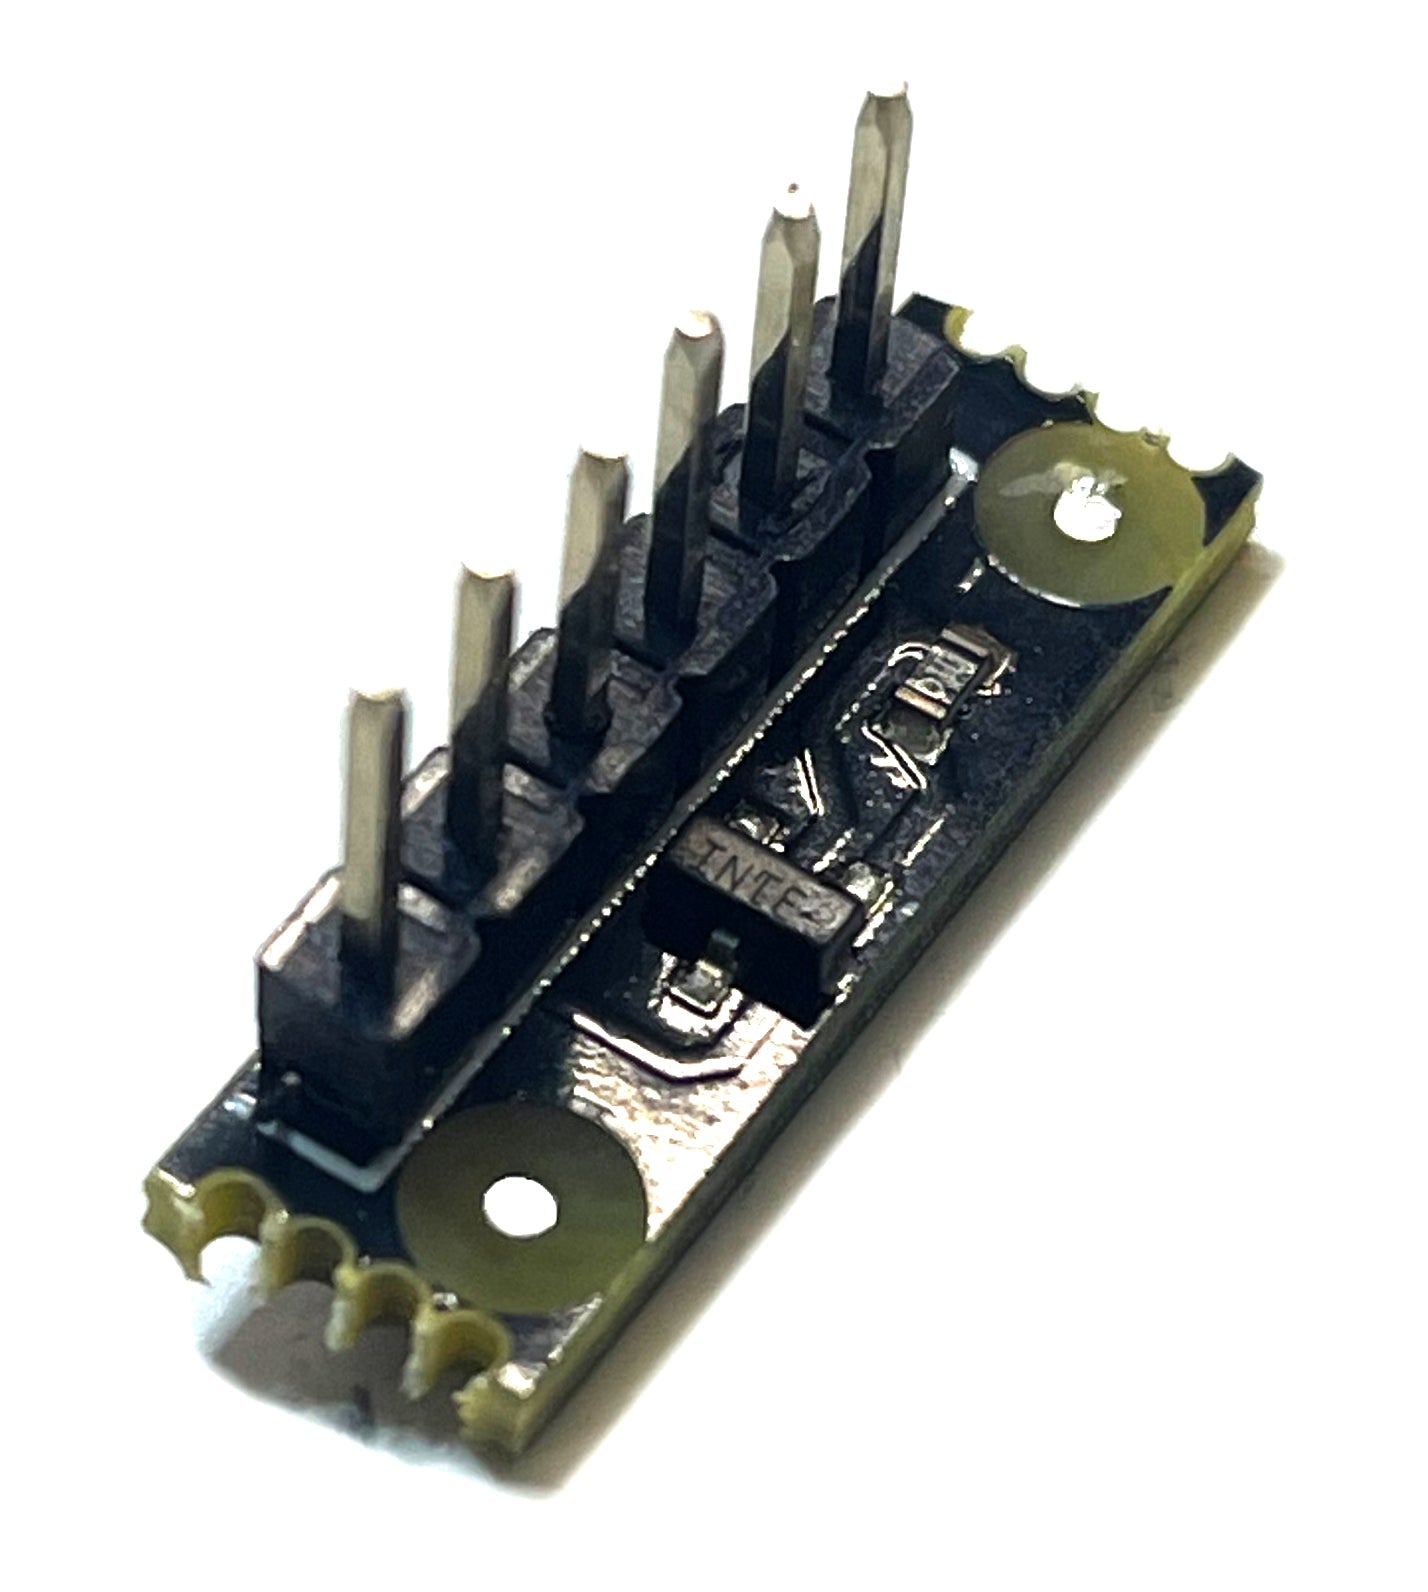
Just solder this into the programming header and it will make the MCU stable on boot up.
This will work on all Audio Damage modules with power issues, but for example, here is some information on the Proton and installation instructions.
Background / Step by Step Instructions
The now long-out-of-production Audio Damage ADM17 Proton is one of the best Karplus Strong synth voices available. However, in common with a few earlier SMT32-based modules its particular chipset had an 'on-die bug' which caused the MCU to go into failure mode if its +12v, -12v and +5v lines were not absolutely at full charge at the instant the power was delivered.
Many users therefore find their Proton fails to power up over half the time and have to resort to multiple power-cycles or re-plugging the live module. Obviously this is frustrating and risks damage to the module or case.
The problem is not fixable by any firmware update but the introduction of this tiny board completely solves the issue.
Installation
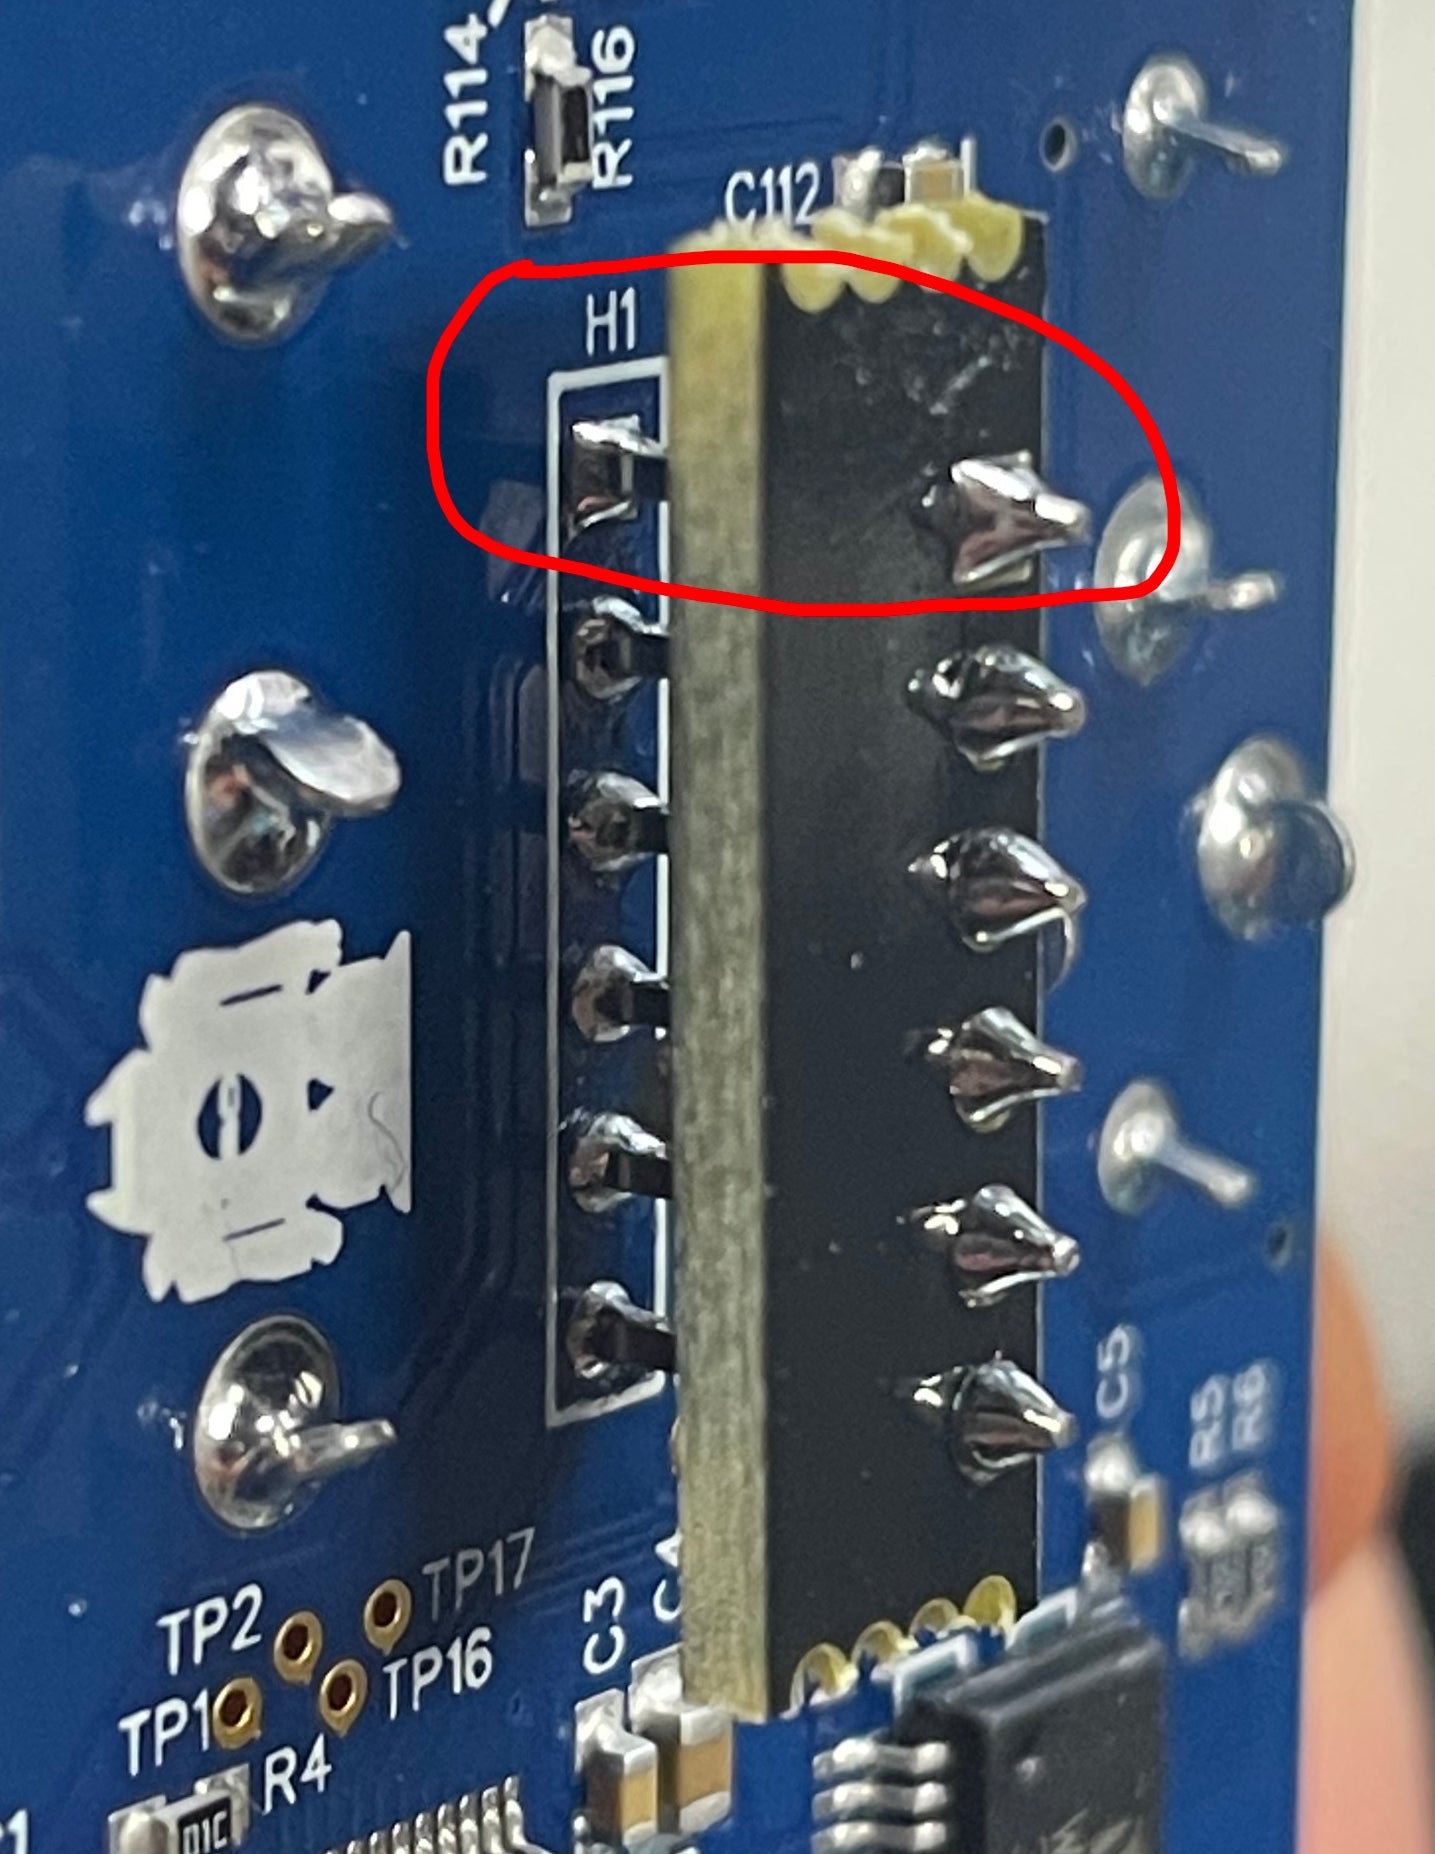
1) Unplug your Audio Damage module and turn it on its side from the back so "AUDIODAMAGE MADE IN THE USA", faces the right way up. Identify the 6 gold programming terminals immediately above this, labeled "H101" and note that the left-most gold hole is square.

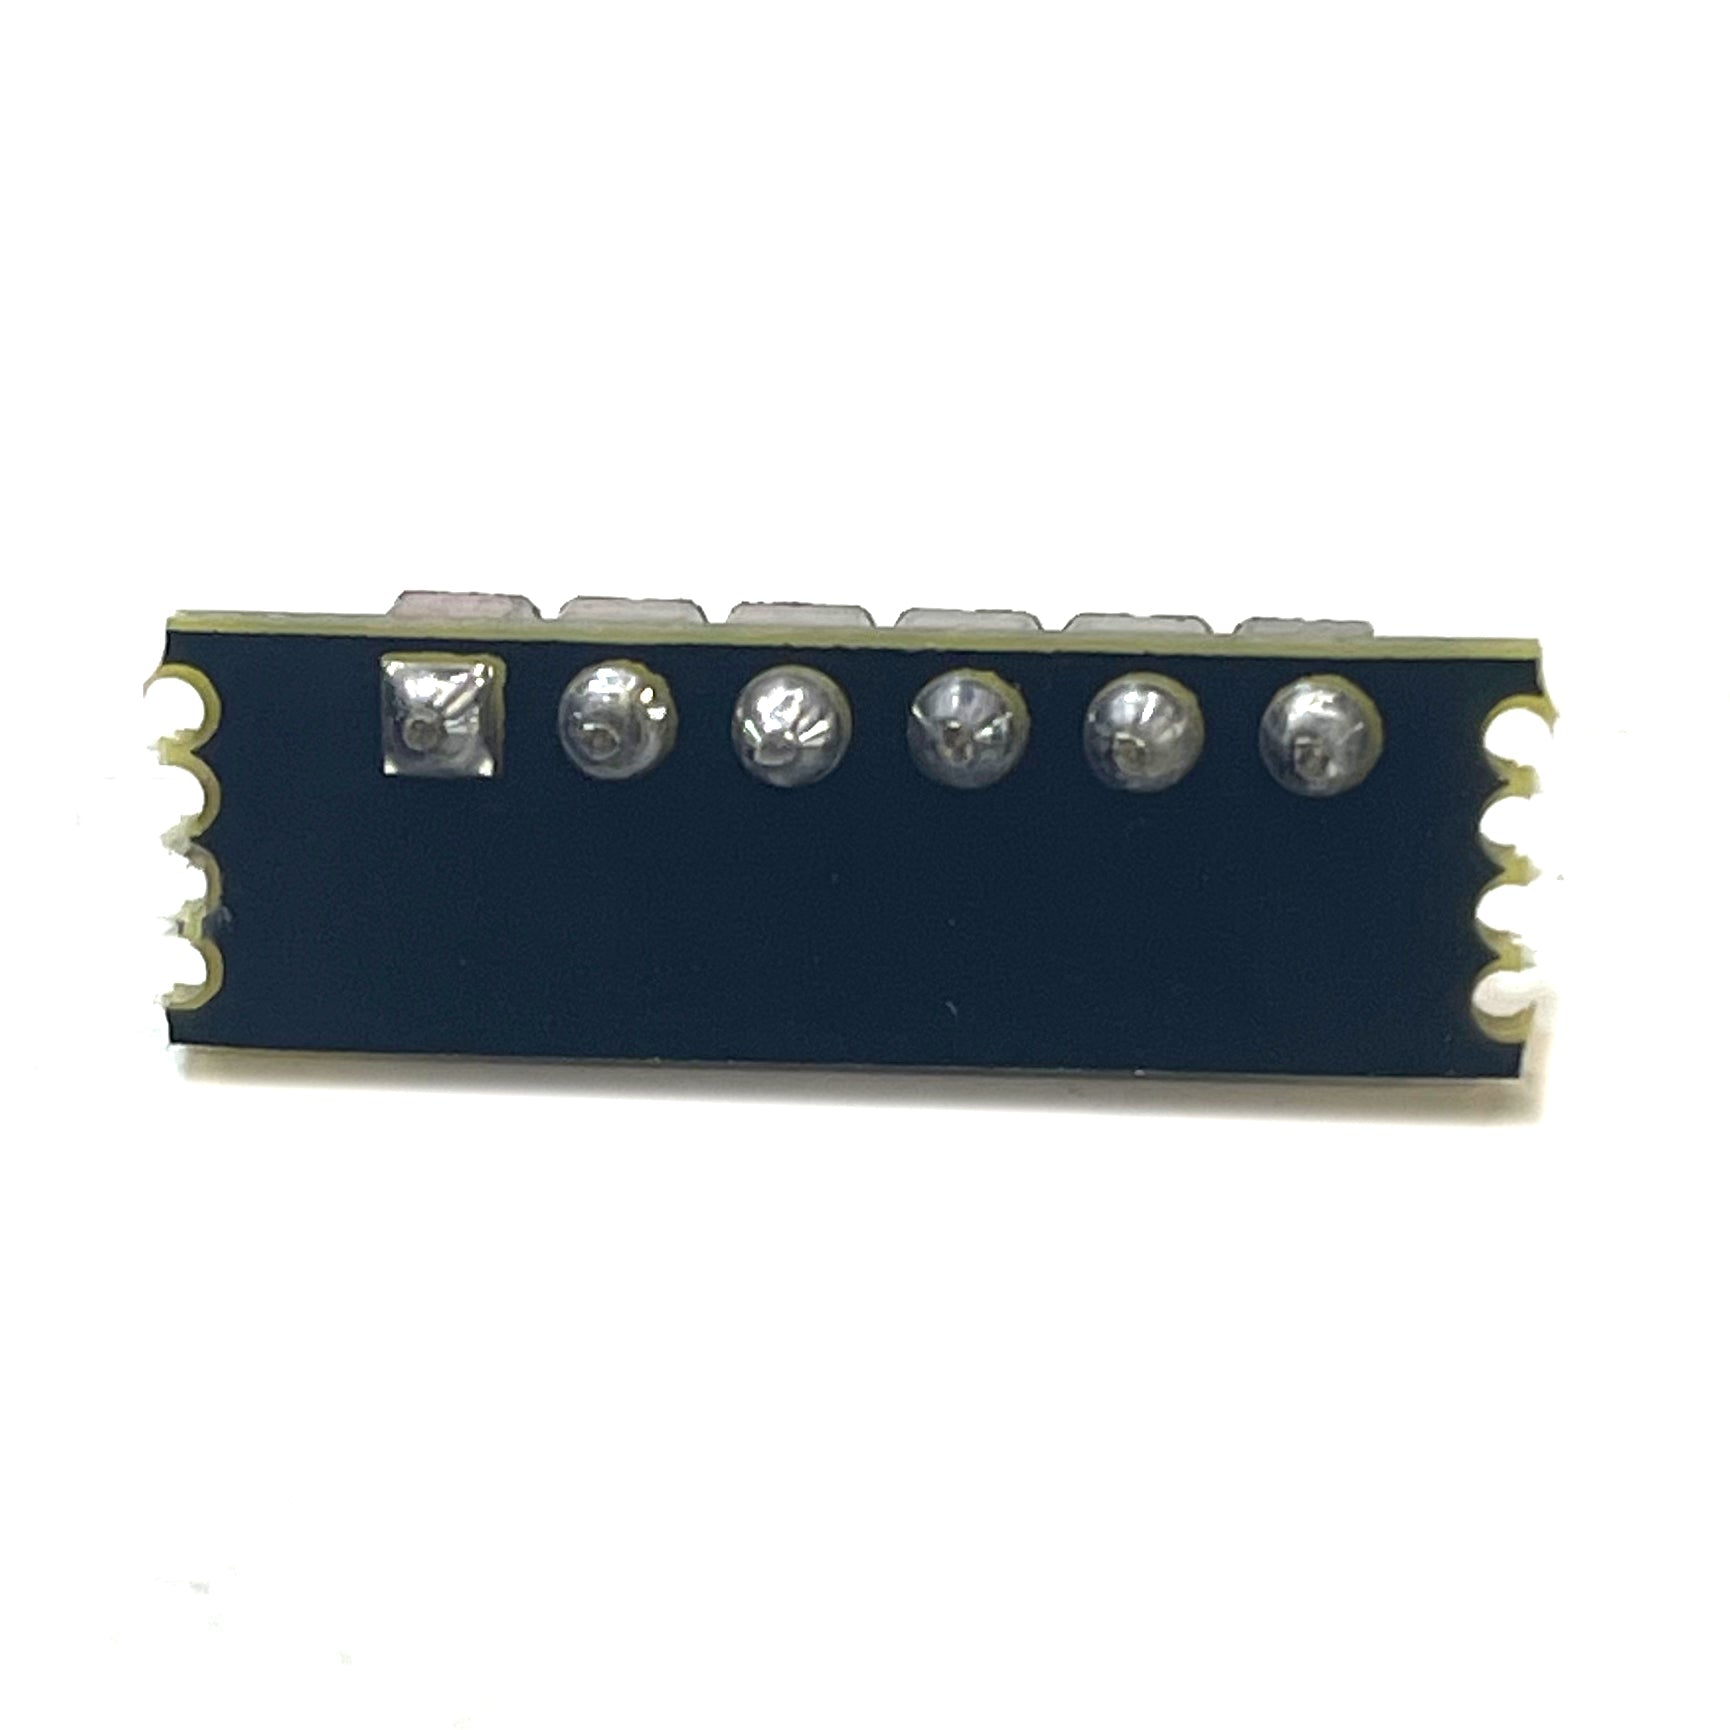
2) Compare this with the legs on the WMD power fix board. Viewed from above, with the legs pointing away from you and in a row along the top of the board, the left-most leg attachment also has square connection.

3) Offer up and then insert the WMD board legs through the holes on the Proton board in this orientation.

4) Holding the WMD board in place, turn both of them over so the WMD legs are now pointing upwards through the holes. You will need to find something to prop up the WMD board from underneath.


5) Solder the legs in place.


Big thanks to Phin Head for writing this copy and Matt Ward for the step by step photos.
If you have any questions, you are always welcome to contact us. We'll get back to you as soon as possible, within 24 hours on weekdays.
-
Shipping Information
Use this text to answer questions in as much detail as possible for your customers.
-
Customer Support
Use this text to answer questions in as much detail as possible for your customers.
-
FAQ’s
Use this text to answer questions in as much detail as possible for your customers.
-
Contact Us
Use this text to answer questions in as much detail as possible for your customers.